Sysbench is a system benchmark tool which can run Lua scripts and measure MySQL and file I/O performance. A number of Lua scripts are included by default after installing. You can run the scripts using sysbench to evaluate system performance such as database and storage I/O speed.
Creator of sysbench and the repository: https://github.com/akopytov/sysbench
#1) Review Sysbench Prerequisites
Check MySQL Status
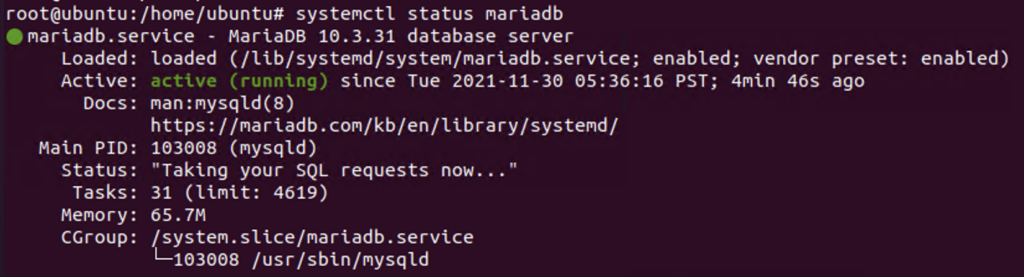
To get started, make sure MySQL is up and running.
systemctl status mariadb
You can install mariadb if you haven’t installed MySQL.
systemctl install mariadb-server
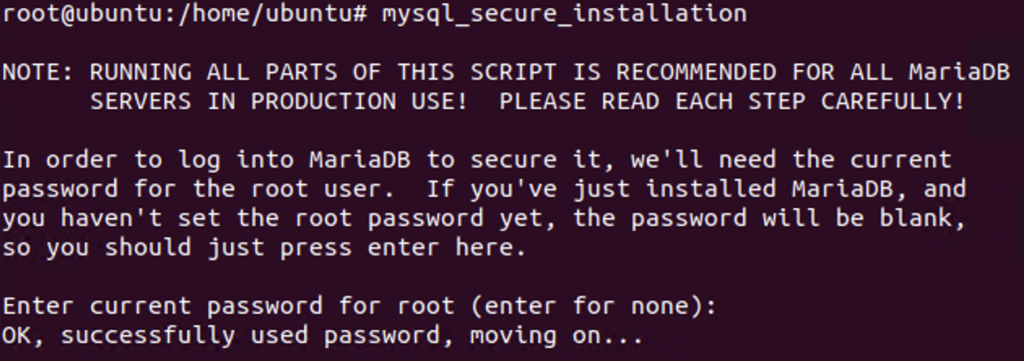
Remember to run mysql_secure_installation and confirm that you can login the database after installing MySQL.
mysql_secure_installation
mysql -u “user” -p
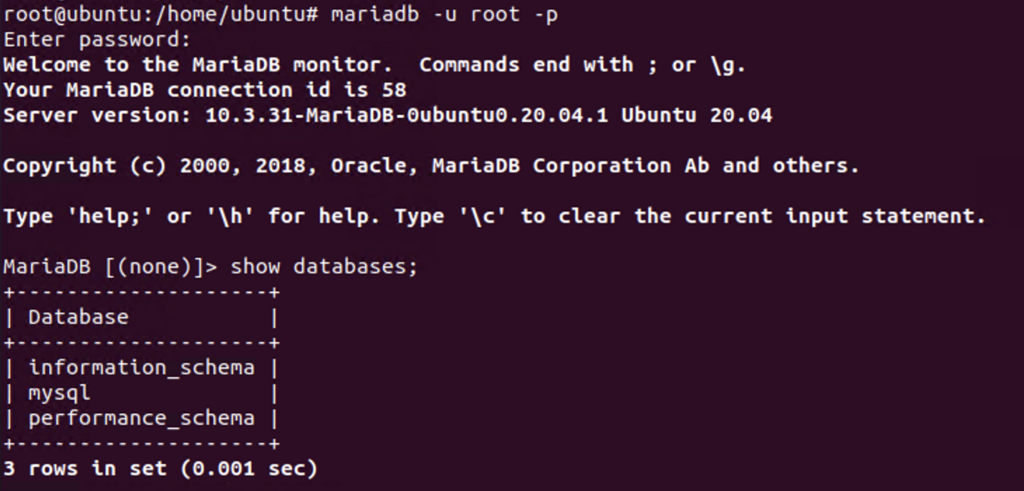
To allow sysbench to insert records in the database, create a database titled “test” after logging in the database.

The database preparation task has been completed.
Install Sysbench
Installing sysbench is as easy as running the standard apt / yum command:
Ubuntu: apt install sysbench
CentOS / RHEL: yum install sysbench
#2) Measure MySQL Performance using Sysbench
There are three major steps to run sysbench, namely prepare, run and cleanup.
Step 1: Prepare
Firstly, sysbench will need to create a table and insert records into the table through the “prepare” command. The content inside the table will be used for system performance evaluation later – by performing database queries such as read and write.
sysbench oltp_read_write –table-size=1000000 –db-driver=mysql –mysql-db=test –mysql-user=root –mysql-password=P@ssw0rd prepare

After running the sysbench preparation script, a table named “sbtest1” will be created inside the “test” database.
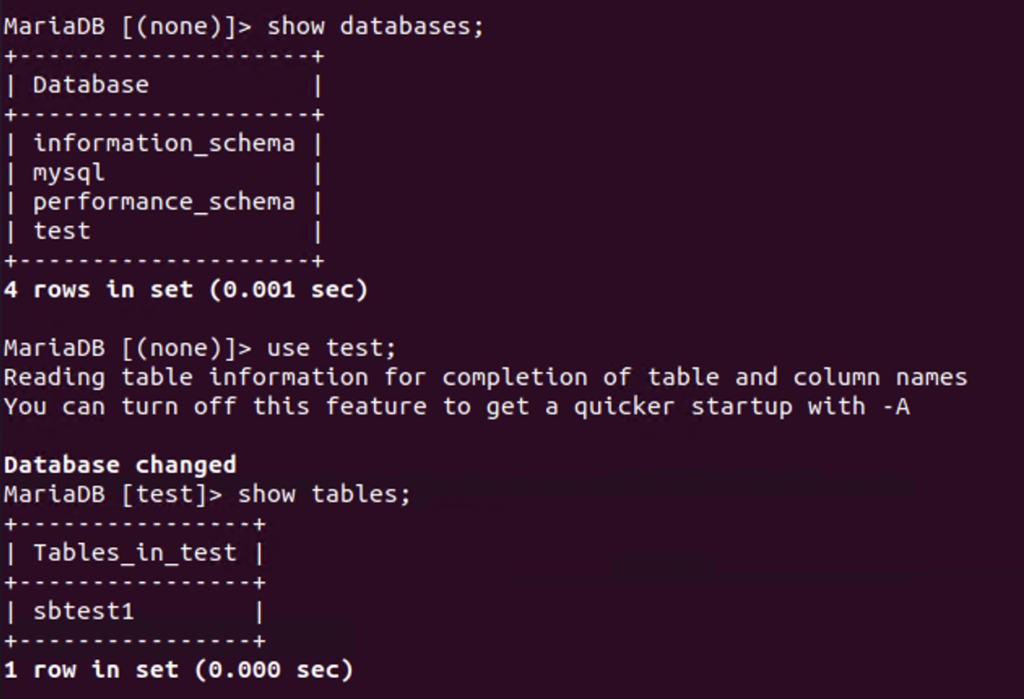
Since we have specified the table size to be 1000000, the records will be generated in the database table.
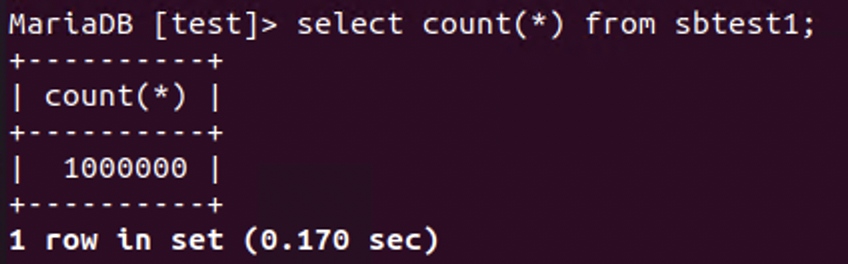
Looking into the table, you can find the content created by the script, which will be used by sysbench to perform read and write queries for database performance measurement.

Step 2: Run
Run the sysbench script and the result will then be generated on the console output.
sysbench oltp_read_write –table-size=1000000 –db-driver=mysql –mysql-db=test –mysql-user=root –mysql-password=P@ssw0rd run
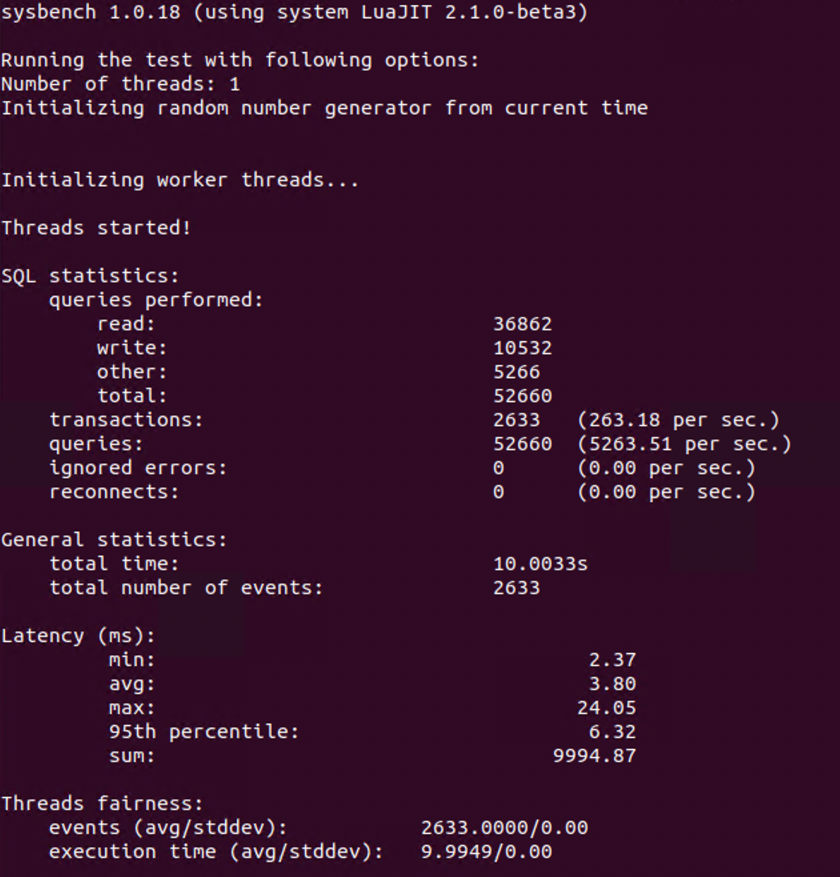
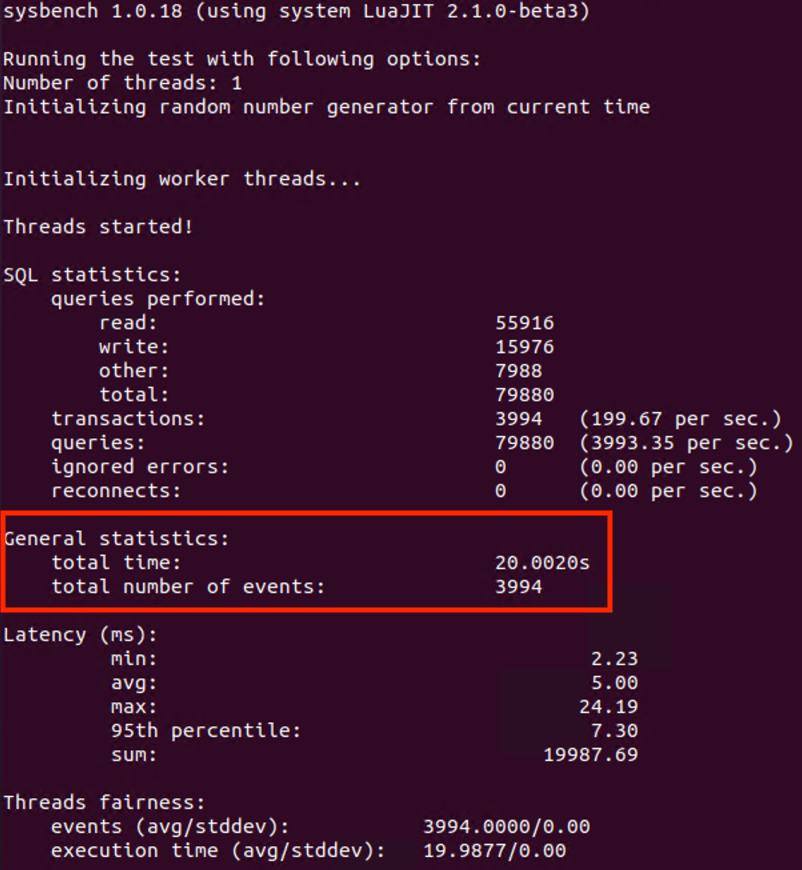
Note that the total execution time of the script is 10s by default, unless the “–time” parameter is specified.
sysbench oltp_read_write –time=20 –table-size=1000000 –db-driver=mysql –mysql-db=test –mysql-user=root –mysql-password=P@ssw0rd run
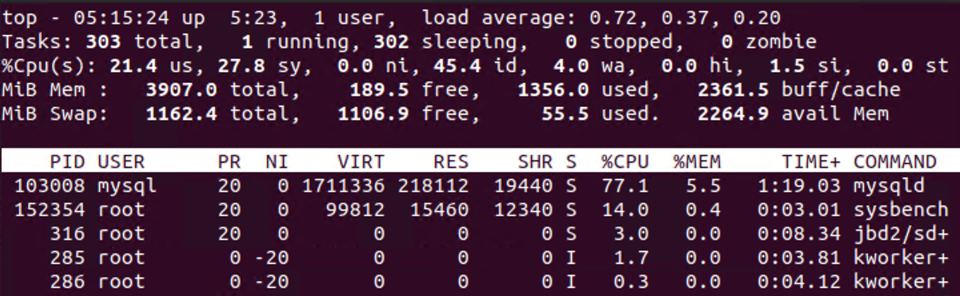
Note that the CPU usage of mysqld and sysbench process should be high when the benchmark is running.
Step 3: Clean up
After getting the benchmark result, you can run the built-in cleanup command to drop the table(s) created by sysbench.
sysbench oltp_read_write –db-driver=mysql –mysql-db=test –mysql-user=root –mysql-password=P@ssw0rd cleanup

#3) Measure I/O Performance using Sysbench
Likewise, you can measure system I/O performance using sysbench by following the three steps procedure: prepare, run and cleanup.
Step 1: Prepare
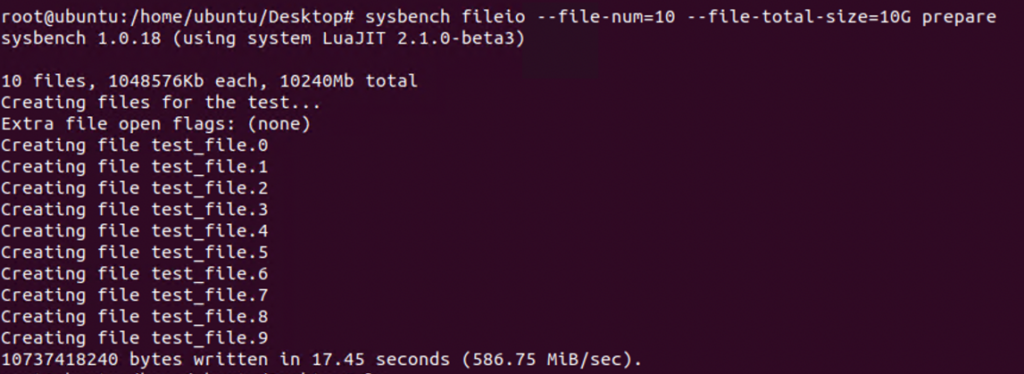
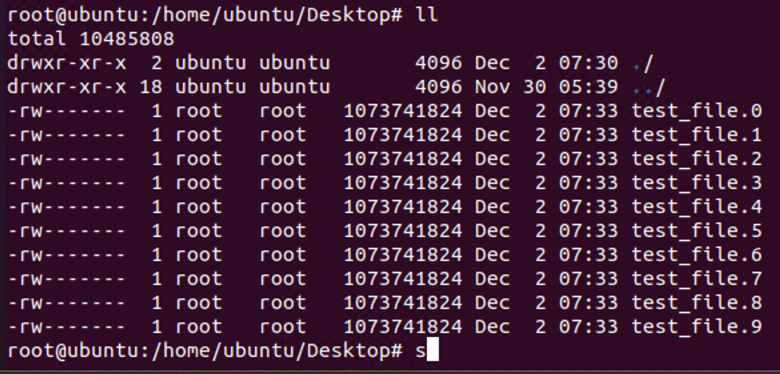
First, we create 10 files, each of 10GB.
sysbench fileio –file-num=10 –file-total-size=10G prepare
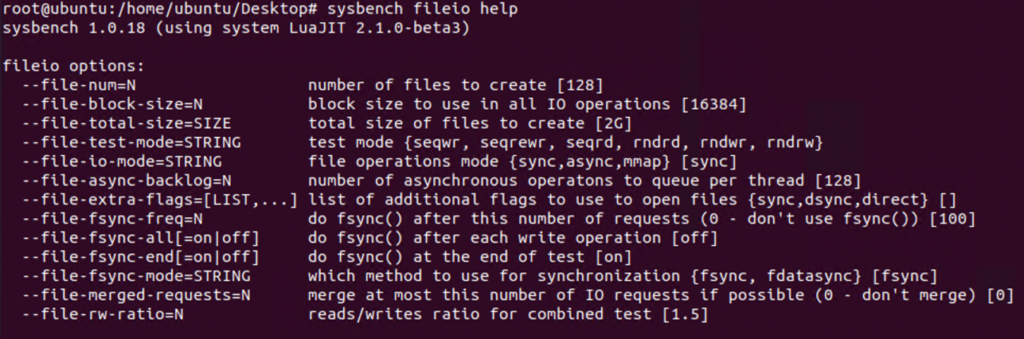
For more information on the test cases available regarding sysbench file I/O performance test, please refer to the manual by entering “sysbench fileio help“.
Step 2: Run
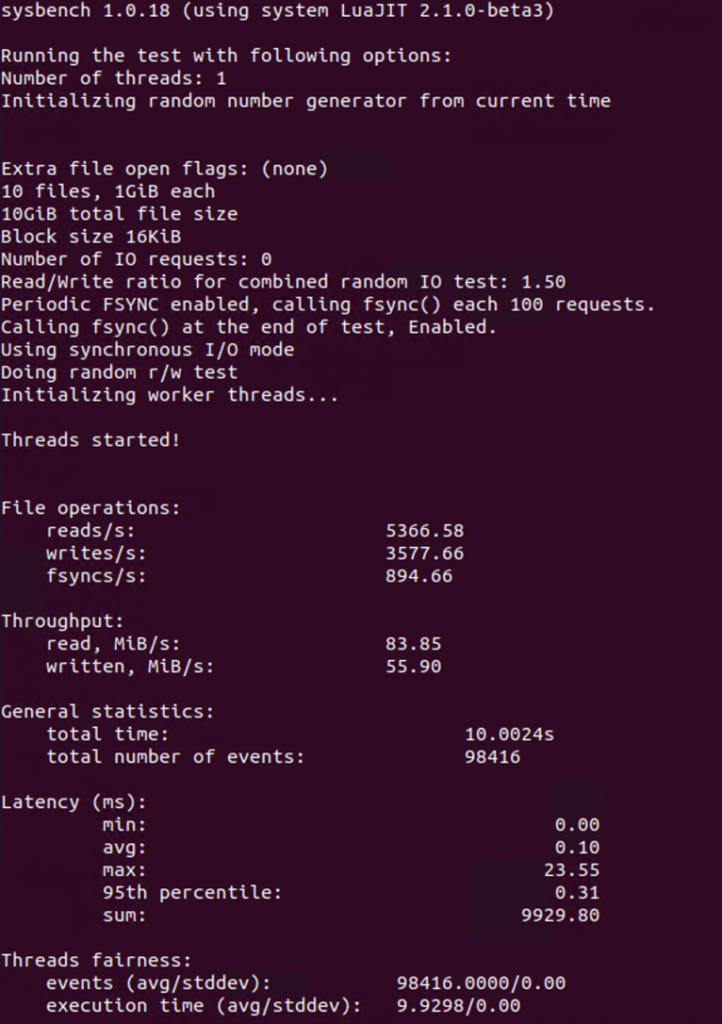
Run the file I/O test after confirming that files are created. Sysbench will use the files created for I/O performance measurement. Remember to specify the “file-test-mode” parameter.
sysbench fileio –file-num=10 –file-total-size=10G –file-test-mode=rndrw run
Step 3: Cleanup
Upon the completion of the test case, you can delete the files created by sysbench easily by using the built-in cleanup feature.
sysbench fileio –file-num=10 –file-total-size=10G –file-test-mode=rndrw cleanup
