A hypervisor is software that allows a server to run multiple operating systems. It allows you to create virtual machines (VM), which enables users to customize hardware resources and perform actions such as taking a VM snapshot and migrating virtual machines to other hosts without downtime.
VMware ESXi is one of the most commonly used type-1 hypervisors in a data center environment. It runs directly using the host’s hardware, rather than acting as a standard Windows or Mac application.
Do you know that you can install ESXi hypervisors at home for experimental purposes? This article introduces the steps to install VMware ESXi hypervisor on a virtual machine created in VMware Workstation.
Step 1: Download VMware ESXi Hypervisor and VMware Workstation
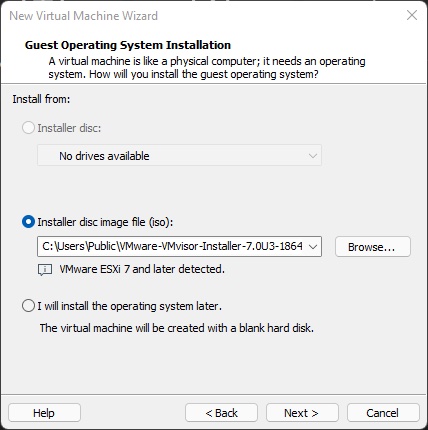
Head over to VMware’s official website to download an evaluation version (ISO version) of VMware vSphere. Note that you will need to register a free account to download the ISO.
https://www.vmware.com/try-vmware.html

For ease of installation, you can install VMware Workstation (a type-2 hypervisor, also known as VMware Fusion on macOS platform) on your operating system to create a virtual machine, and install ESXi hypervisor (a type-1 hypervisor) on the VM.
https://www.vmware.com/products/workstation-pro.html
Tips #1: If your computer does not have enough processing power, or if you prefer to skip the installation step, I would recommend you to try out VMware Hands-on Lab. It provides an interactive interface for you to use ESXi software on a web browser – without the need to install any software. You can register a free account by visiting the below website.
Tips #2: If you would like to use the evaluation software for an extended period, consider joining VMware User Group (VMUG) and upgrading to Advantage membership. You can get 365-day evaluation licenses for most VMware products including ESXi, vCenter, NSX, etc. for an annual membership fee.
Step 2: Create a virtual machine for ESXi installation on VMware Workstation
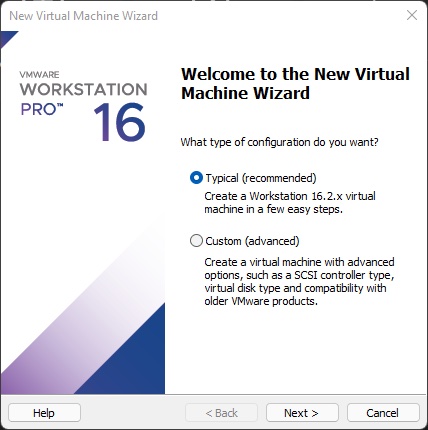
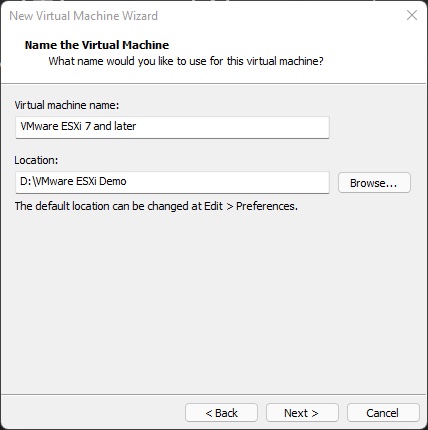
Start by creating a VM using the “New Virtual Machine Wizard” on VMware Workstation.
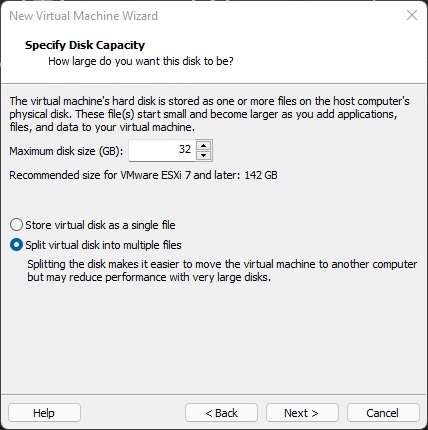
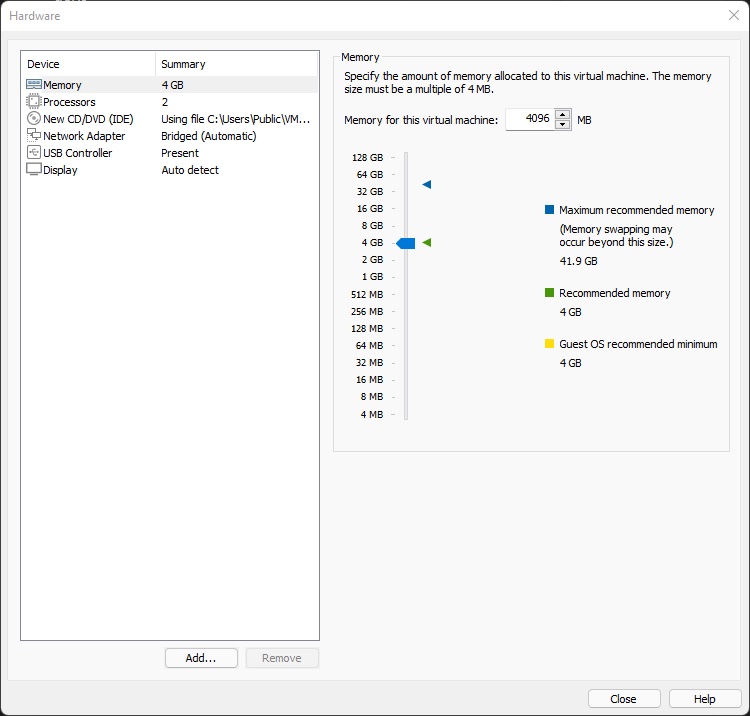
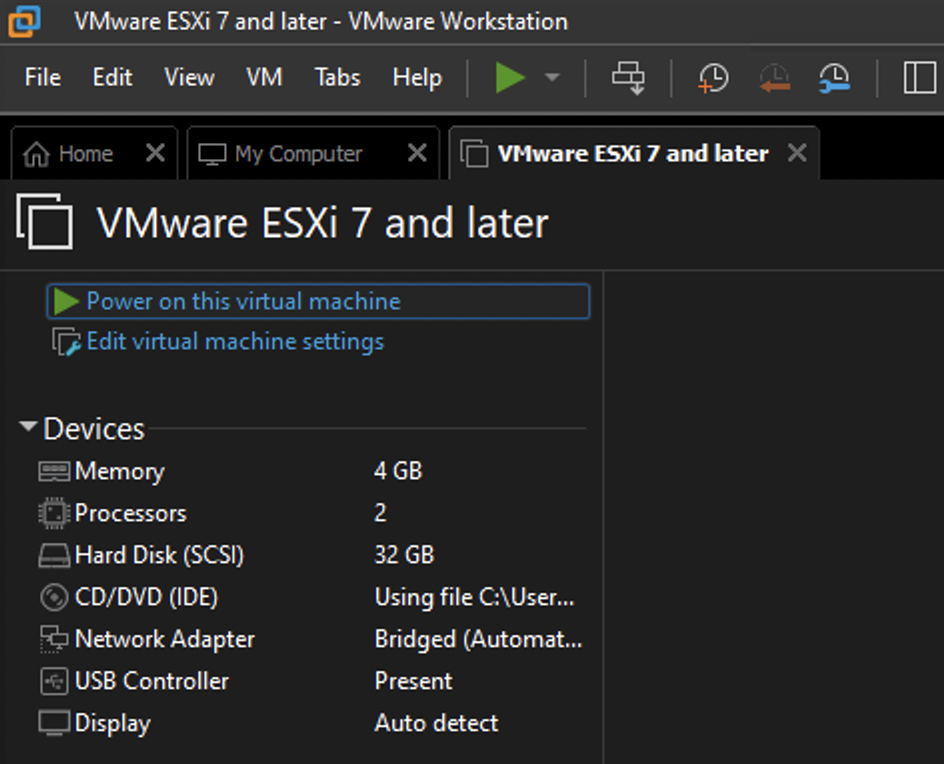
Refer to the official documentation for the minimum hardware requirements for ESXi 7.0 (eg. 4GB ram, 2 CPU cores, and 32GB disk space)
Note that you can select “Bridged” mode for the Network Adapter setting if you wish to access the ESXi host client from devices other than your host PC after installation.
Step 3: Power on Virtual Machine and proceed with installation
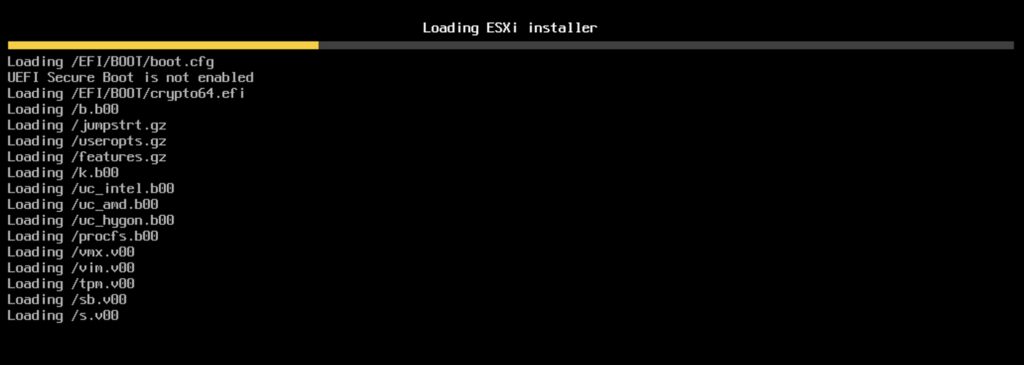
After creating the virtual machine, power on the VM to continue the ESXi installation.

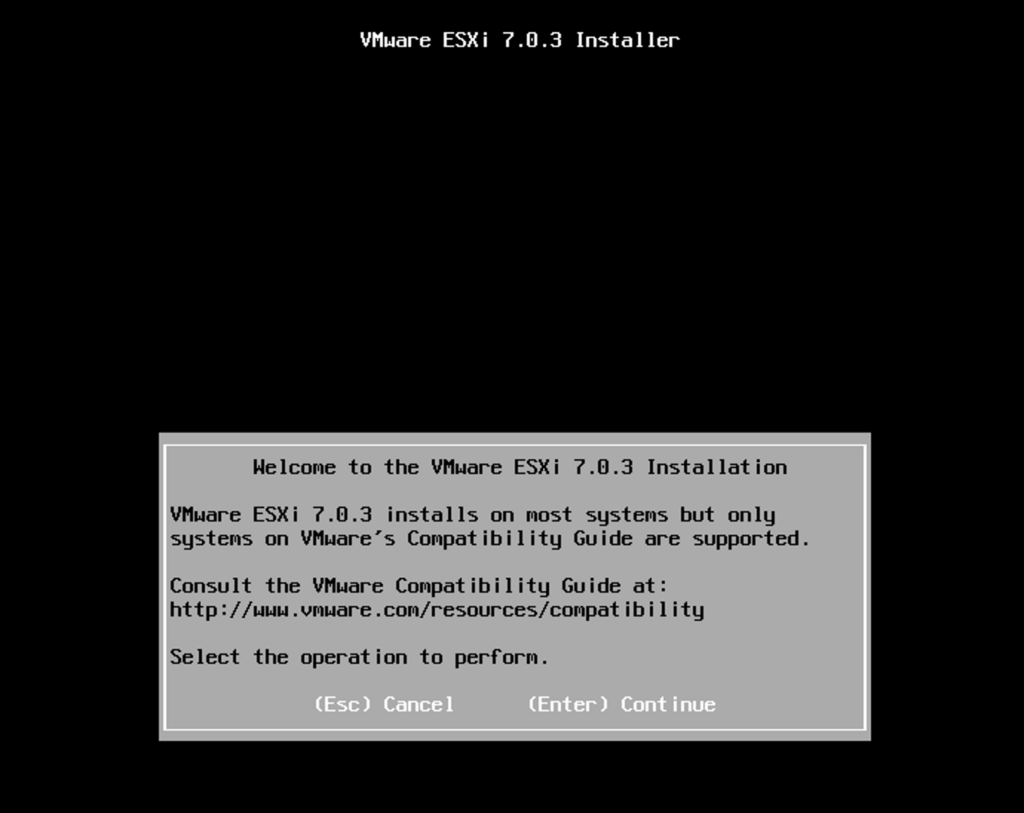
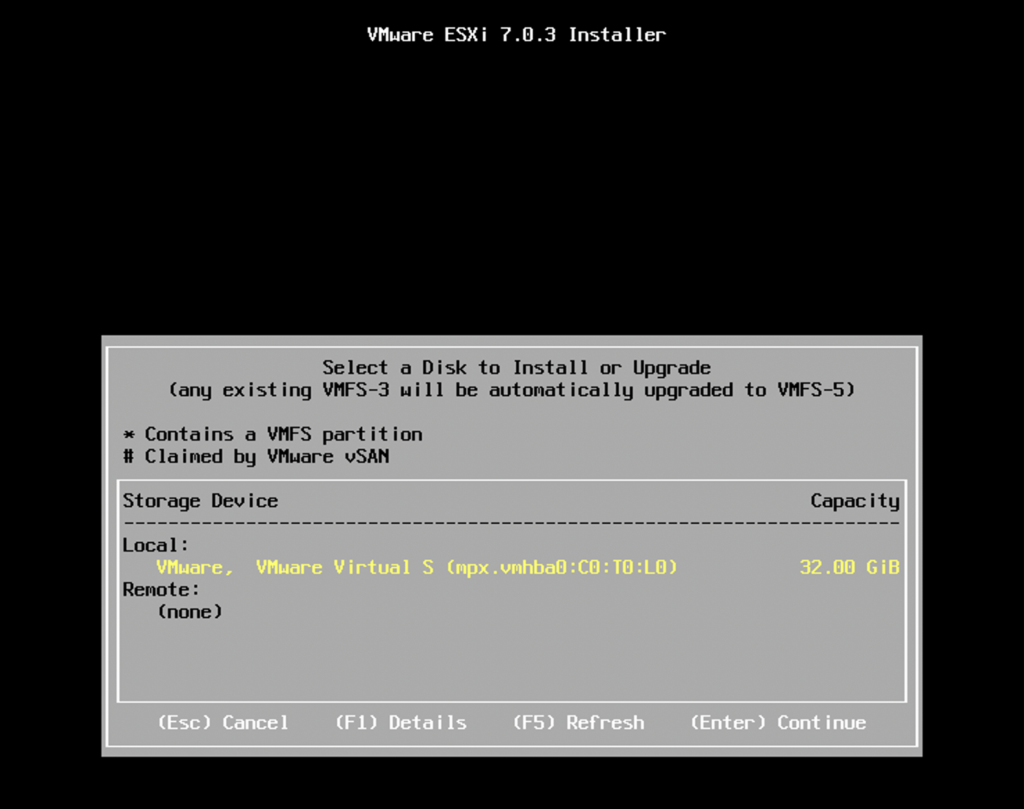
After starting the installation, you will be asked to select a disk location to install ESXi. As the VM is configured with a single local 32GB hard disk (which is the minimum amount of disk space for ESXi 7.0 installation), it is the only storage device displayed on the ESXi installation wizard. Continue by selecting the disk.
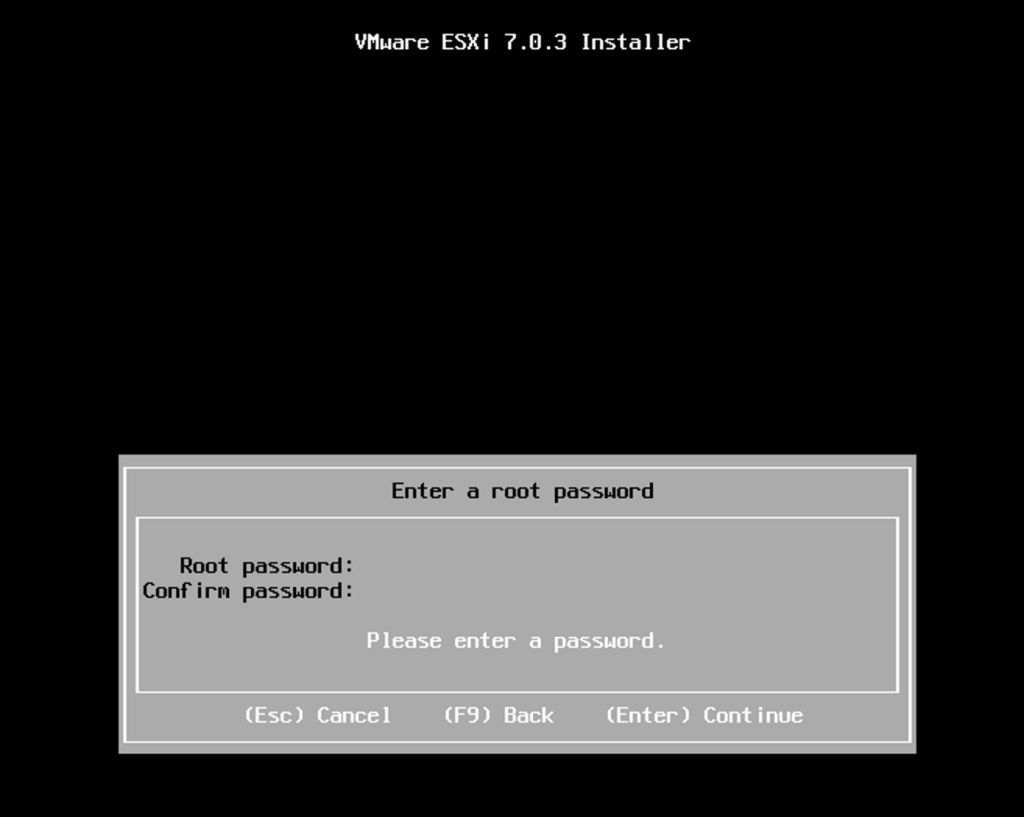
Upon selecting the storage device for the installation, you will be asked to enter an ESXi root password, which you can later use to log in to the ESXi host client, as well as the Direct Console User Interface (DCUI).
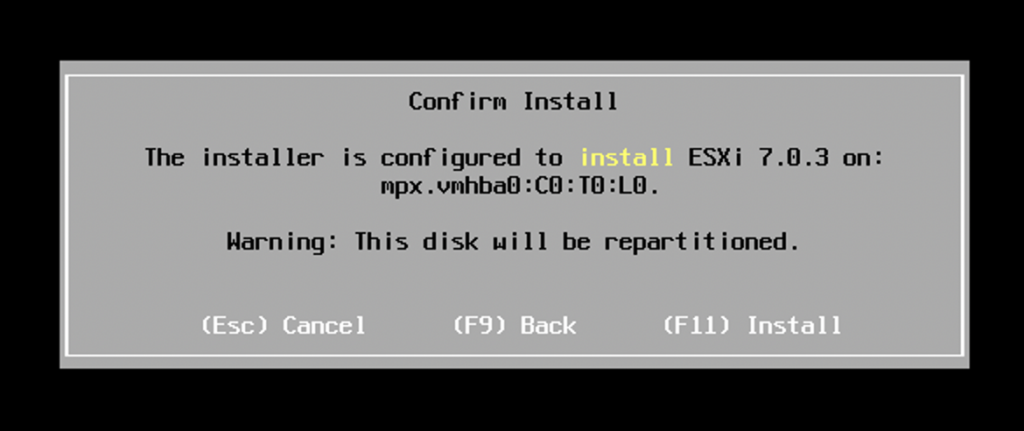
Press F11 to confirm installing ESXi on the selected disk location:
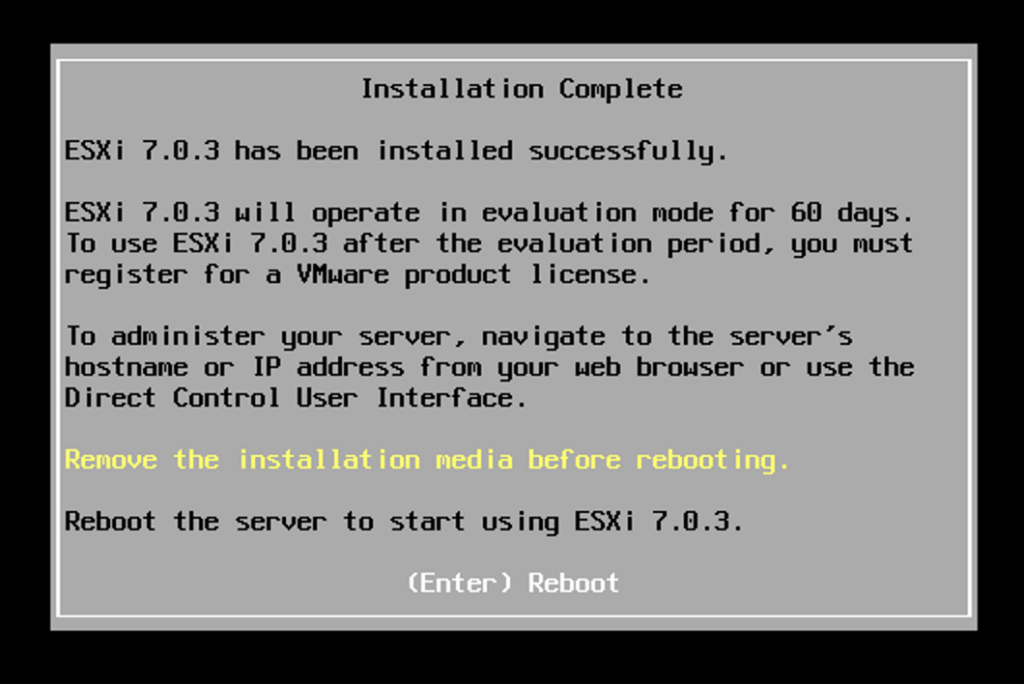
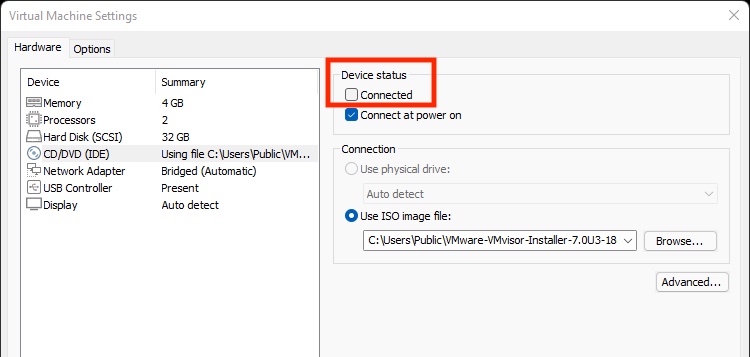
After installation has been completed, select “configure hardware” on VMware Workstation, remove the ESXi installation media (e.g. CD Rom, USB drive), and press “Enter” to reboot into ESXi.
Post-installation: Access Direct Console User Interface (DCUI) and ESXi Host Client
#1) Access Direct Console User Interface (DCUI) on the Connected Display Device
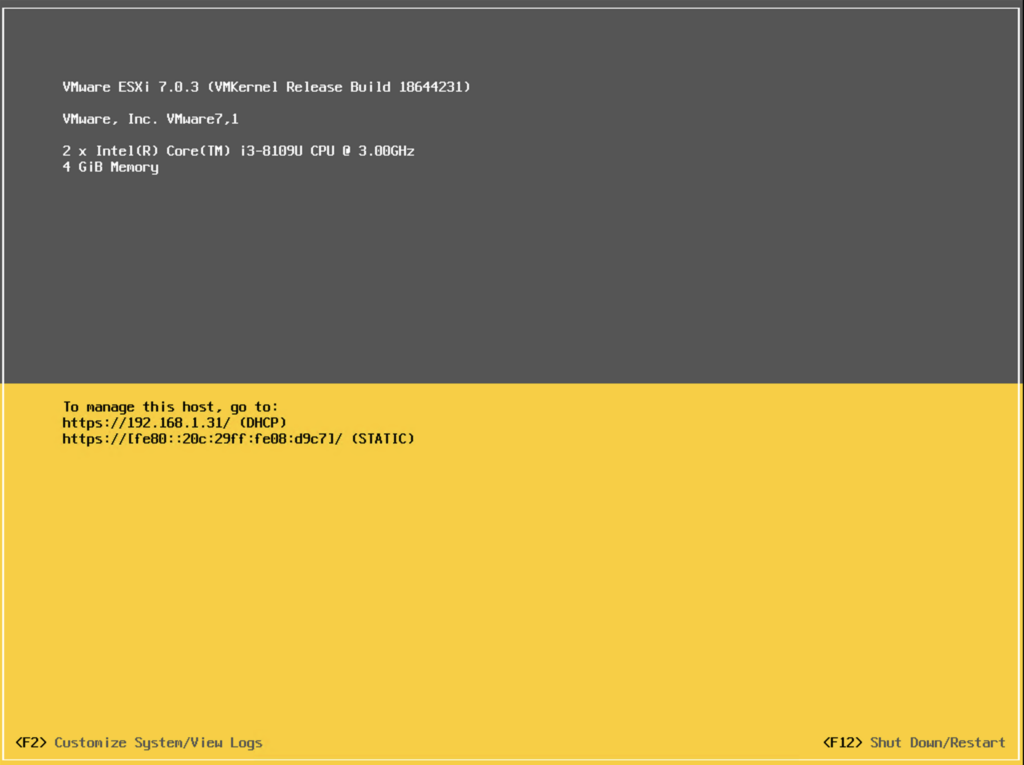
After installing ESXi and rebooting, you can view the Direct Console User Interface (DCUI). Basic information including ESXi version, CPU, memory, and management IP address will be shown. Note that DCUI offers limited configuration as it is not designed for daily operation. For most use cases, system admins only access DCUI via Integrated Management Module (IMM) to perform tasks such as changing ESXi management IP and checking system status when the network connection to the ESXi is lost. For performing most operational and management tasks, you will need to use the ESXi host client on a web browser.
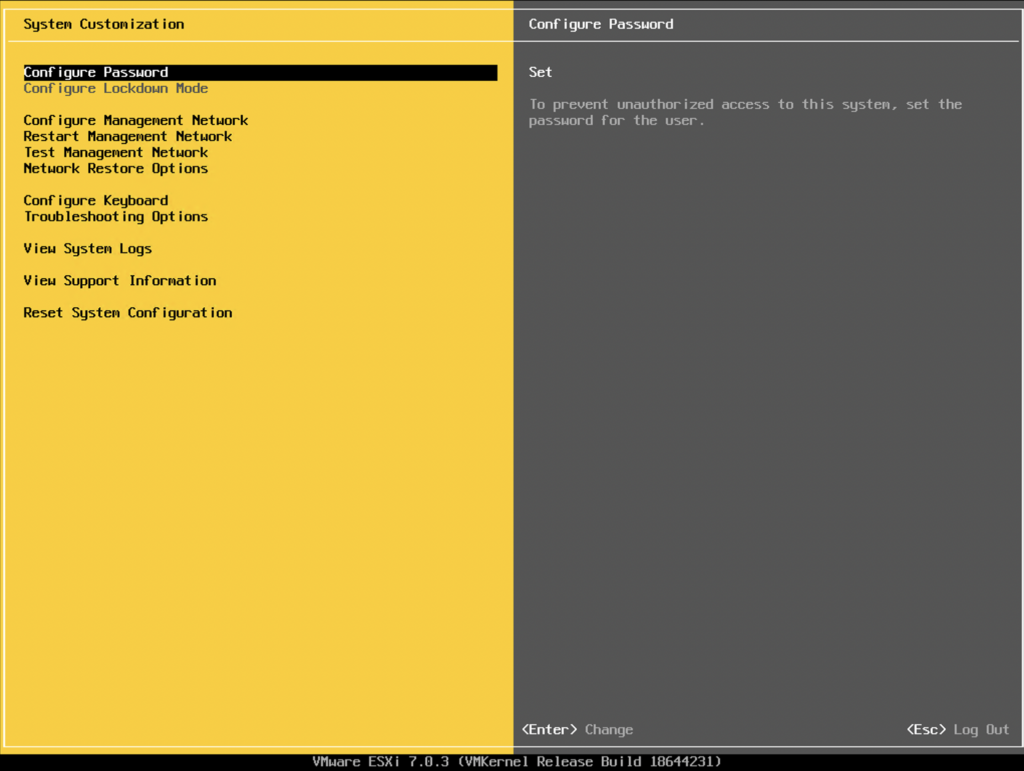
For customization such as configuring the management IP address, press F2 and enter the root user credential you entered during the ESXi installation.

After logging in as a root user, you can perform various configurations on the DCUI including changing the ESXi root password and the management network (e.g. assign a static management IP).
#2) Access ESXi Host Client via a Remote Web Browser
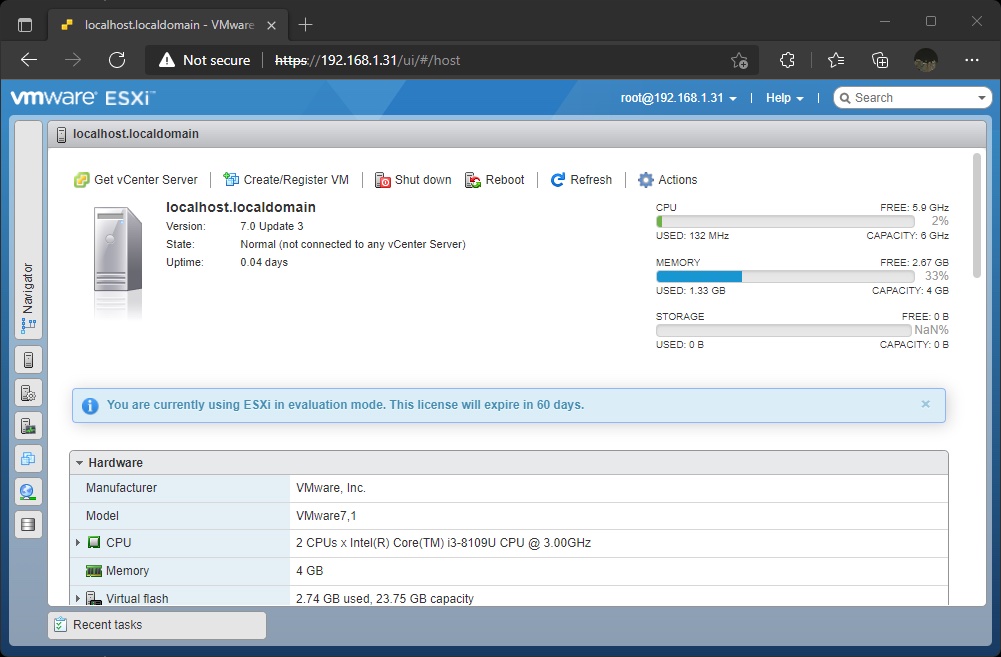
You can also access the ESXi management console by entering the management IP of the ESXi on a web browser. This is the preferred way to perform management tasks including datastore and VM configuration etc.
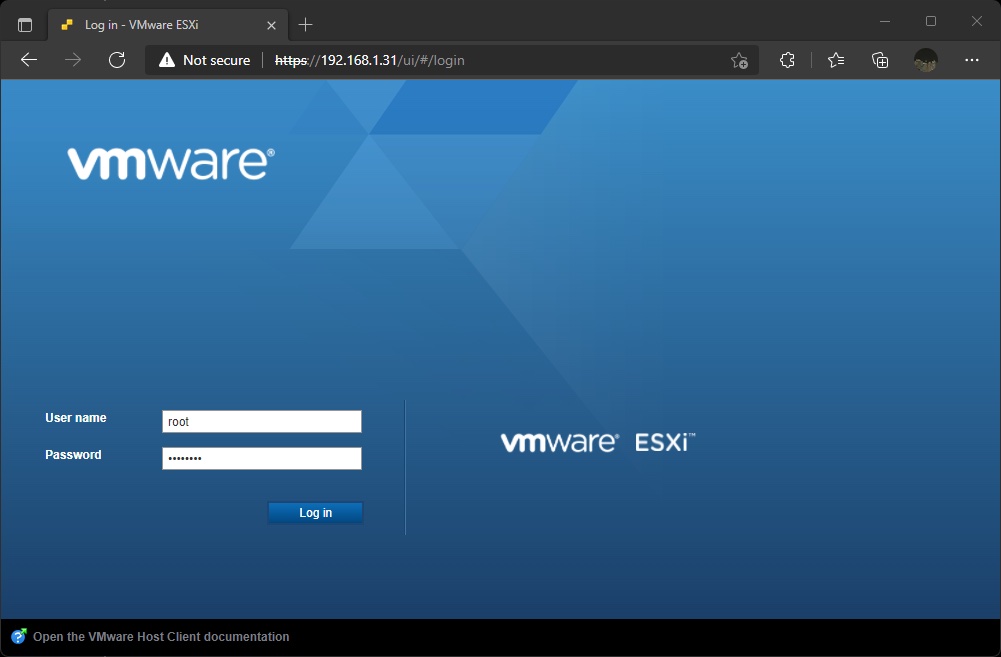
After login, you can view the system information and perform management tasks.
Conclusion
ESXi hypervisor provides a virtualized computing platform where multiple operating systems can be run on a single host. It offers many more capabilities including the ability to provision virtual machines with customized hardware and the option to create a snapshot for the temporary preservation of VM state and data. Installing the ESXi hypervisor is the first step to creating a software-defined data center (SDDC), where computing resources can be pooled to provide a centralized platform for hosting enterprise applications efficiently. Stay tuned for more tutorials on cloud computing and system administration topics.